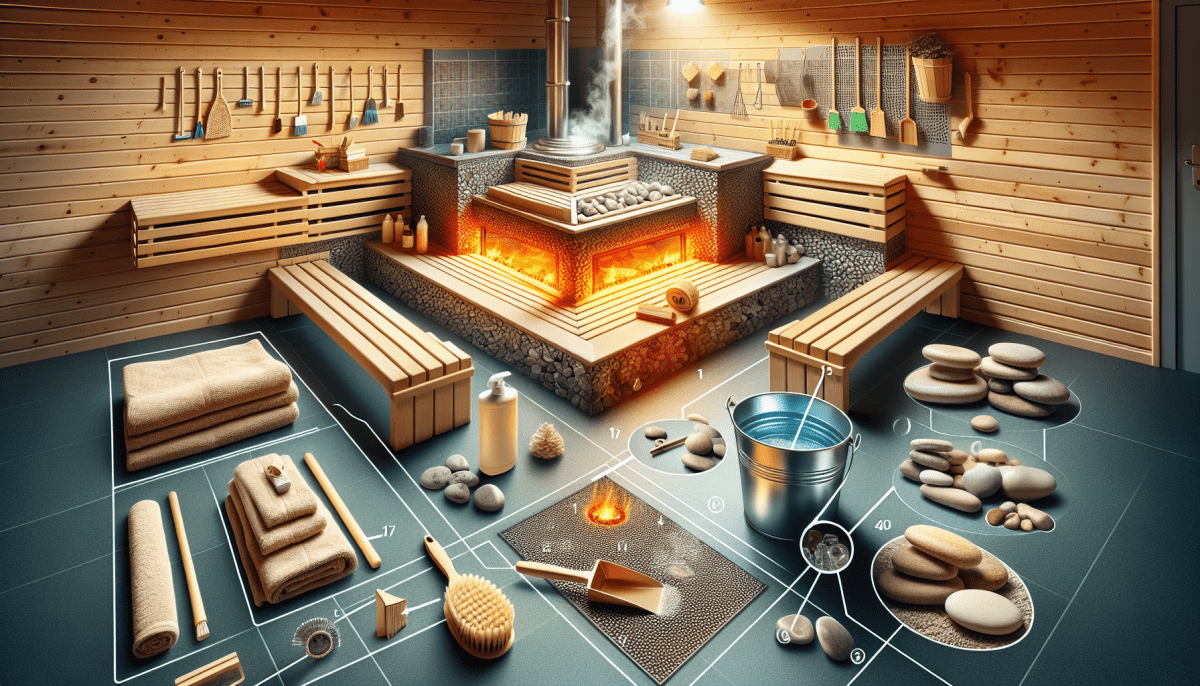
Before diving into the cleaning process, it’s smart to gather all your supplies. Having everything at your fingertips makes the job a lot easier. Plus, you won’t need to keep running back and forth to grab what you need.
Here’s a quick checklist of what you’ll want:
With your supplies ready, you set yourself up for a smooth cleaning session. A little prep goes a long way in making the task feel less daunting.
Remove Excess Dirt and Debris
Cleaning your home sauna doesn’t have to be a chore. It’s super important to keep it fresh by removing dirt and debris. After all, you want a cozy place to unwind, right? Let’s dive into how you can make this process easy and effective.
Start by giving your sauna a good sweep. Use a broom or a vacuum cleaner to pick up stray dirt, dust, and any bits of debris that might have found their way in. Don’t forget to pay attention to those corners and hidden spots! They can hide all sorts of unwanted stuff.
Next, grab a damp cloth or sponge. Wipe down the benches and walls to remove any sweat or grime. A little warm water does wonders here. If you notice any stubborn spots, a gentle cleaner that’s safe for wood works perfectly. Just make sure to avoid harsh chemicals. You want your sauna to stay as natural as possible!
Finally, don’t overlook the floor. If your sauna has wooden flooring, a quick mop with a wood-safe cleaner will do the trick. For tile floors, a regular mop and some warm soapy water should suffice. Make sure to dry everything off properly, so it doesn’t get slippery. A clean sauna is a happy sauna!
Use the Right Cleaner for Surfaces
Keeping your sauna clean is key to enjoying its relaxing vibes. It’s super important to use the right cleaner for different surfaces inside your sauna. You wouldn’t want to damage the wood or the heating elements, right?
For wooden surfaces, stick with a gentle cleaner made for wood. Look for ones that are natural and free from harsh chemicals. A simple mix of warm water and vinegar does wonders! Just dampen a cloth with your solution, wipe down the benches, walls, and door, and dry them off afterward. Easy peasy!
When it comes to glass elements, like windows or doors, use a glass cleaner that’s safe for high heat. Spray it on and wipe it down for that crystal-clear finish. No one wants to look through a dirty window while they’re trying to relax!
For the sauna’s heating elements, a damp cloth is usually enough. Just wipe them down lightly to keep them clean—this prevents any buildup that could affect their performance. Make sure everything is dry before you fire it up again!
Finish with a Good Drying Session
Once you finish cleaning your home sauna, it’s time to dry it out properly. A good drying session helps prevent mold and keeps that fresh sauna smell intact. Plus, it’s super easy to do!
Start by opening all the doors and windows. Let the fresh air flow in. If your sauna has a fan, now's a great time to turn it on. This will help speed up the drying process and keep things ventilated.
Next, grab some clean towels and wipe down the surfaces. Focus on benches, walls, and any nooks where moisture likes to hide. It doesn’t have to be perfect; just make sure you’re removing any leftover water. If you can, check for spots you missed while cleaning.
Don’t forget about the heater too! After you’ve cleaned and wiped everything down, turn it on for a short time. Let it run for about 15-20 minutes. This extra heat works wonders in evaporating any lingering moisture.
Finally, once everything feels dry, do a quick check to ensure the space is fully ventilated before you close it up. Keeping your sauna dry is key to enjoying it for years to come!


